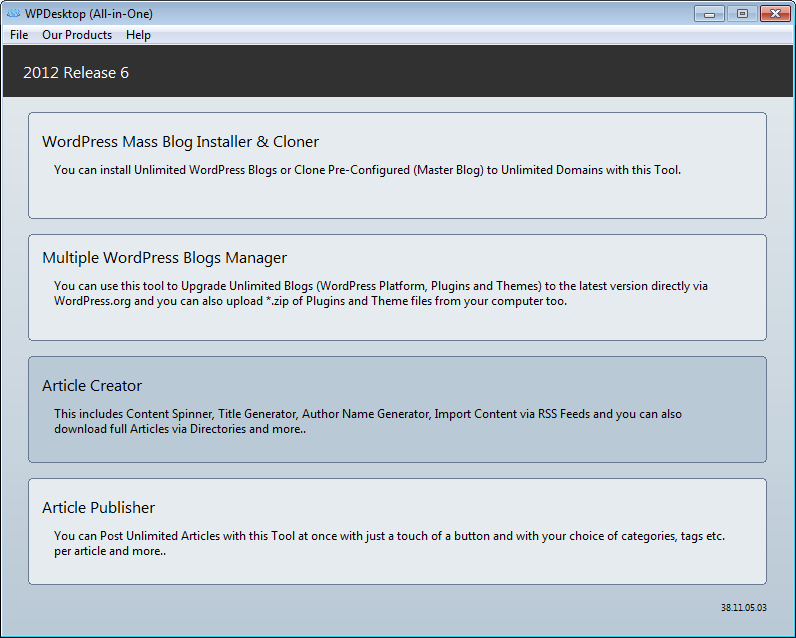
WPDesktop (All-in-One)
Quick Start Guide, User's Guide and Owner's Manual (v8)
1. How to Download and Install WPDesktop (All-in-One)
3. How to Register the Software
4. WordPress Mass Blog Installer & Cloner
» Quick Standard WordPress Blog Installation.
» How to Install Multiple WordPress Blogs.
» How to setup Domain/Hosting Account Information for Primary Domain in cPanel.
» How to setup Domain/Hosting Account Information for Add-On Domain in cPanel.
For the Advanced User:
» How to Build and Use Custom WordPress (ZIP File) with your own customized files etc.
5. Multiple WordPress Blogs Manager
» Change all Blogs Password to New Password.
» Upload Unlimited Plugins in ZIP Format from your computer.
» Upload 9 Themes in ZIP Format from your computer.
» Content Spinner / Article / Content Generator
» How to Enable XML-RPC Access to Your WordPress Site.
1. How to Download and Install WPDesktop (All-in-One) - ⇑
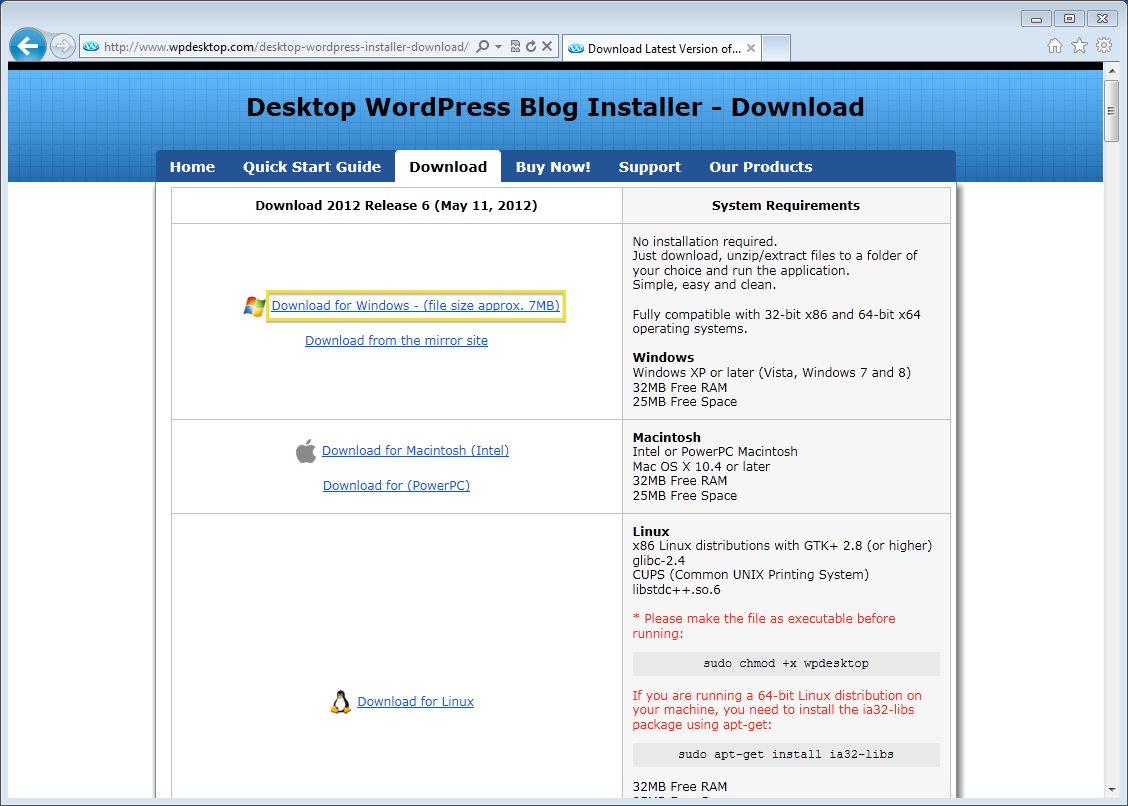
* Same steps for all the operating systems.
To begin, download the latest version from Click Here
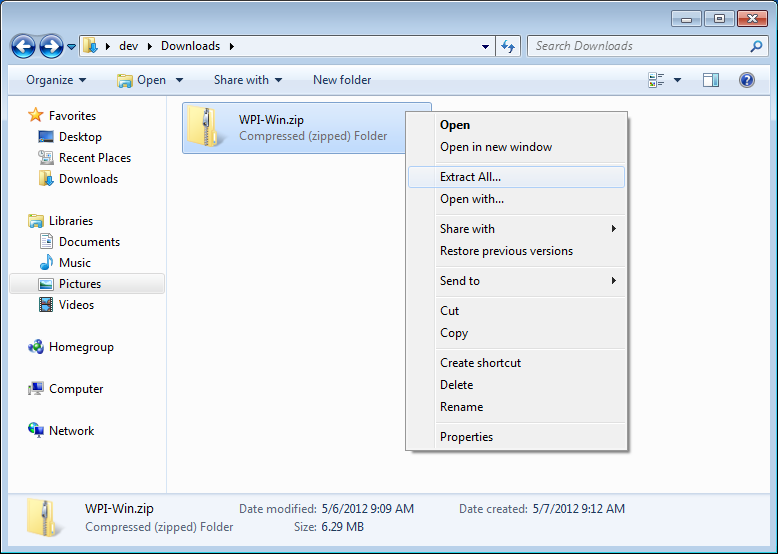
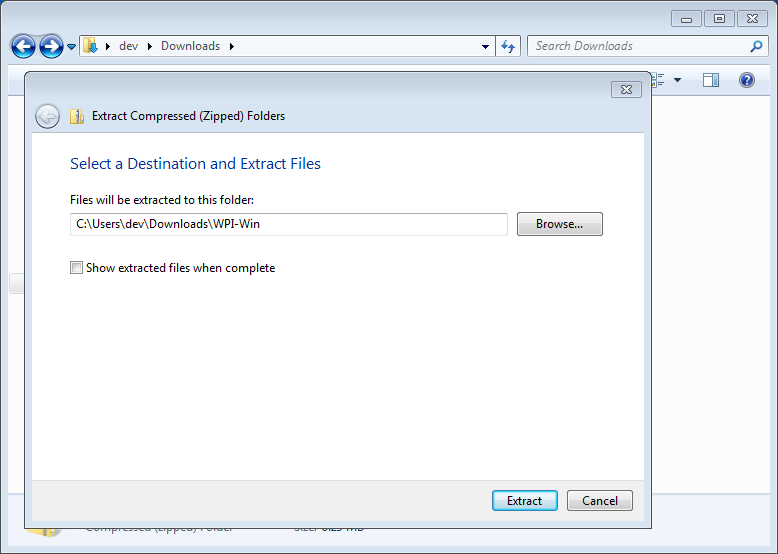
When the download is complete unzip/extract the software into a folder:
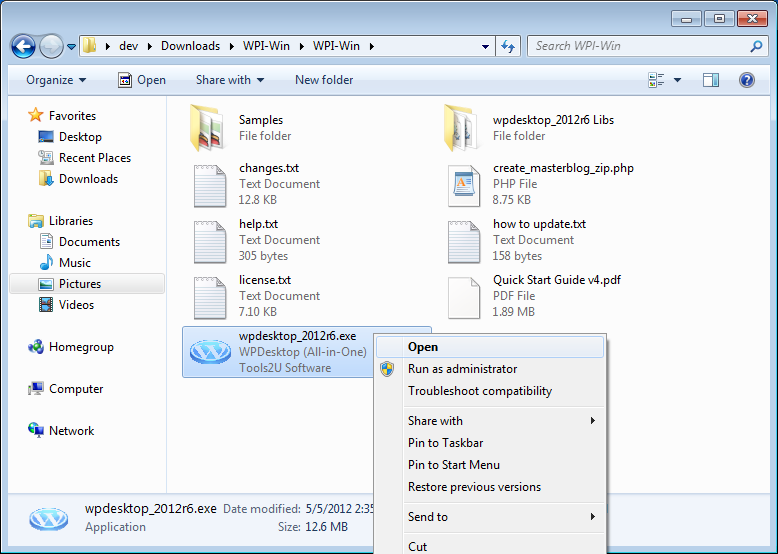
Run the software by double clicking on "wpdesktop_xxx.exe" etc.
2. Quick Start Menu - ⇑
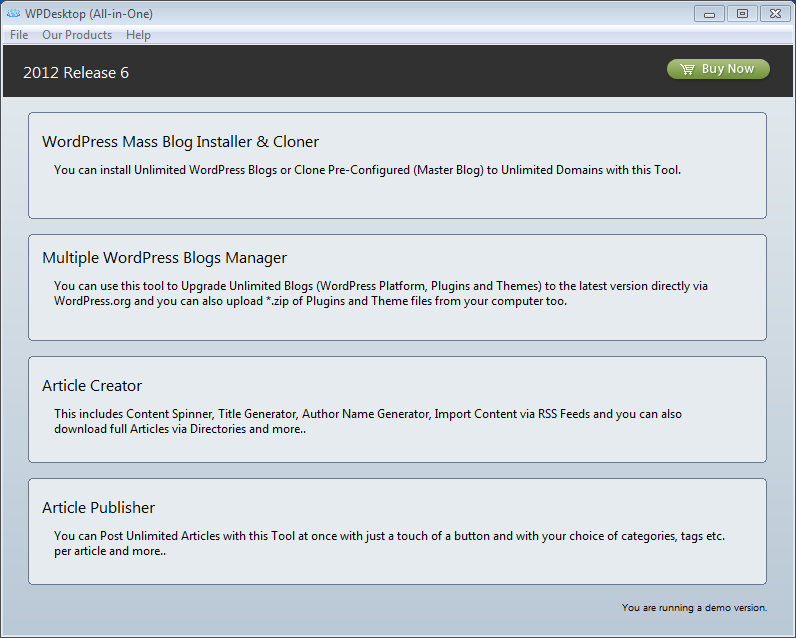
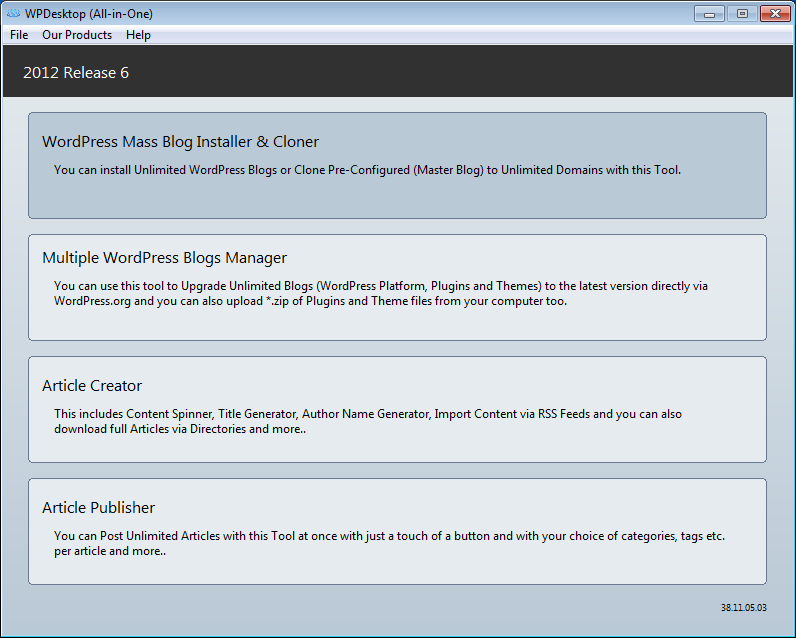
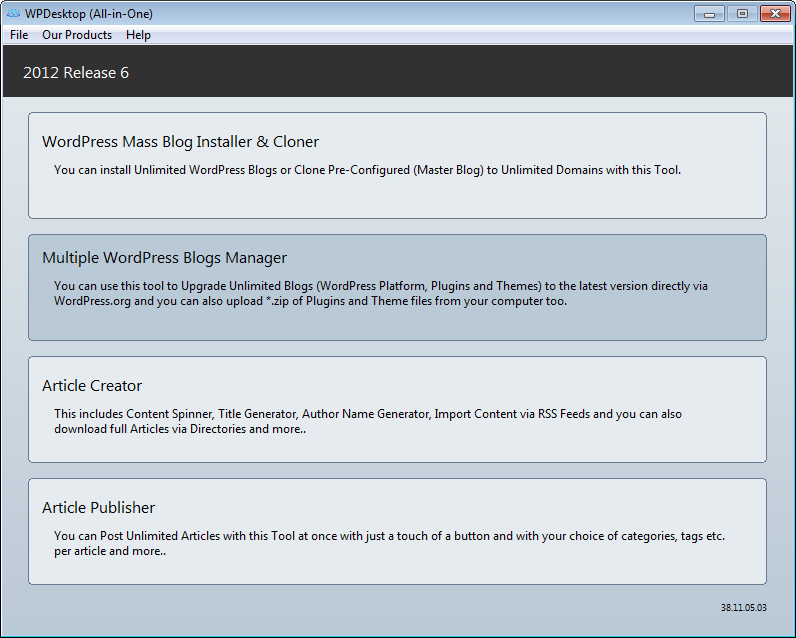
When you first open WPDesktop (All-in-One) Software, the Quick Start Menu will appear. From this screen you can jump right into any feature of the program.
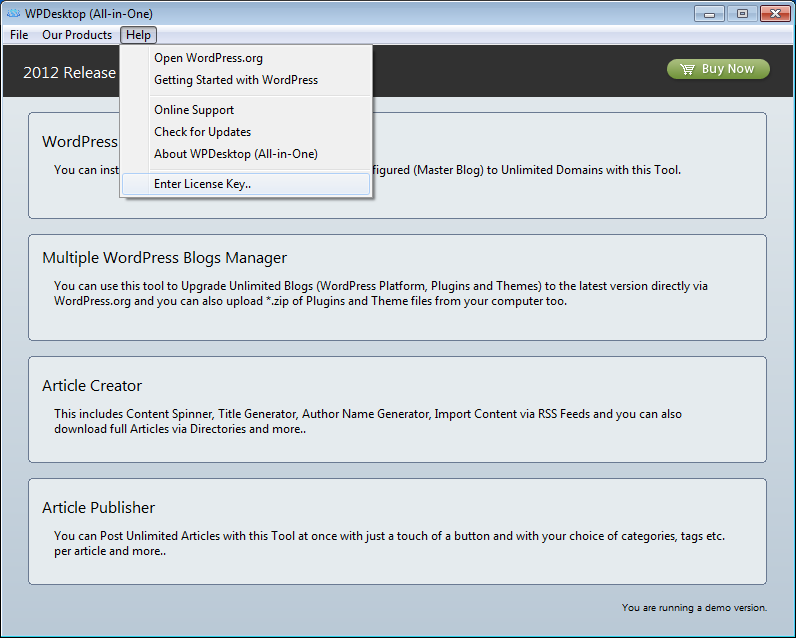
3. How to Register the Software - ⇑
Make sure you are connected to the internet.
Run the software and go to 'Enter License Key...' from 'Help' Menu.
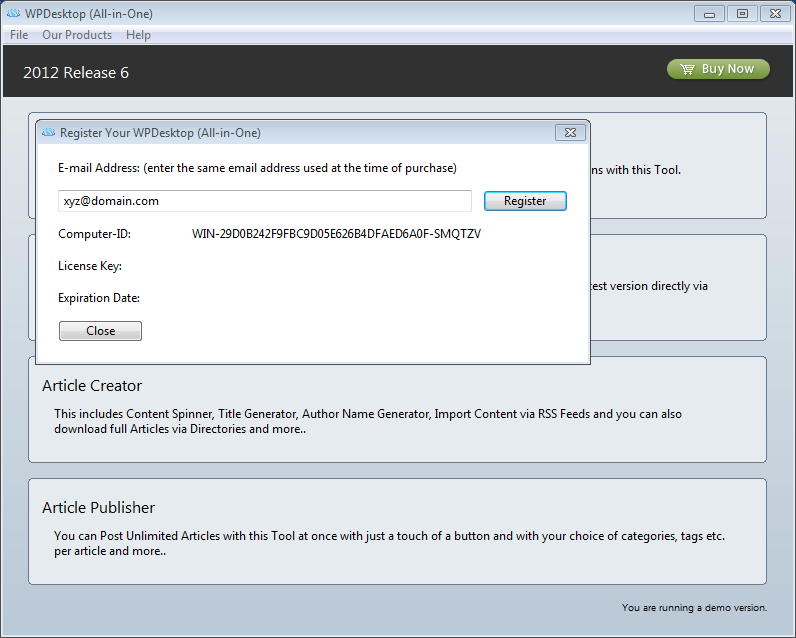
Now enter the same email address used at the time of purchasing into E-mail Address field and click "Register" Button.
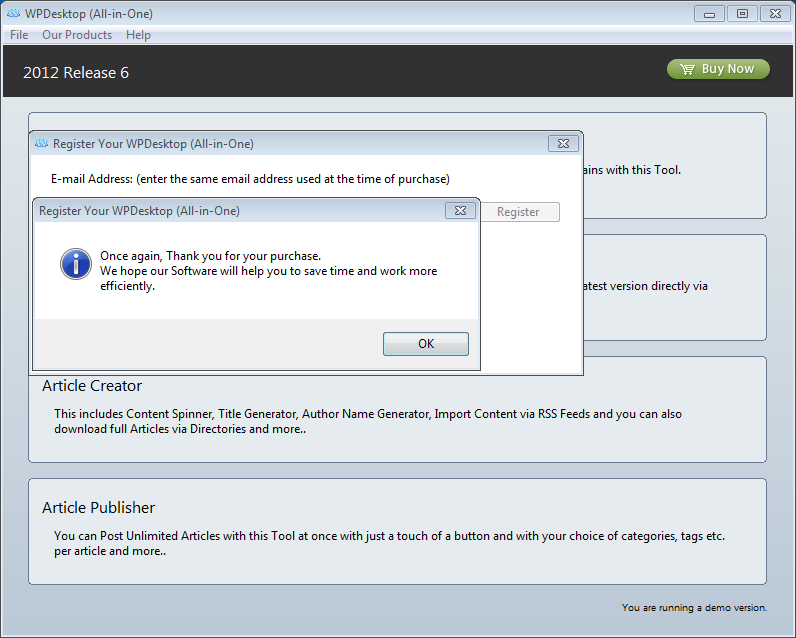
Now you are done registering your software, Congratulations.
4. WordPress Mass Blog Installer & Cloner - ⇑
» WordPress Mass Blog Installer & Cloner - (Quick Standard WordPress Blog Installation) ⇑
In this example we are going to show you how to, with less information, get the standard blog installation done within few minutes. So this is going to be without your WordPress Theme, Plug-ins and Settings instead this uses the Default WordPress Theme and Plugins etc.
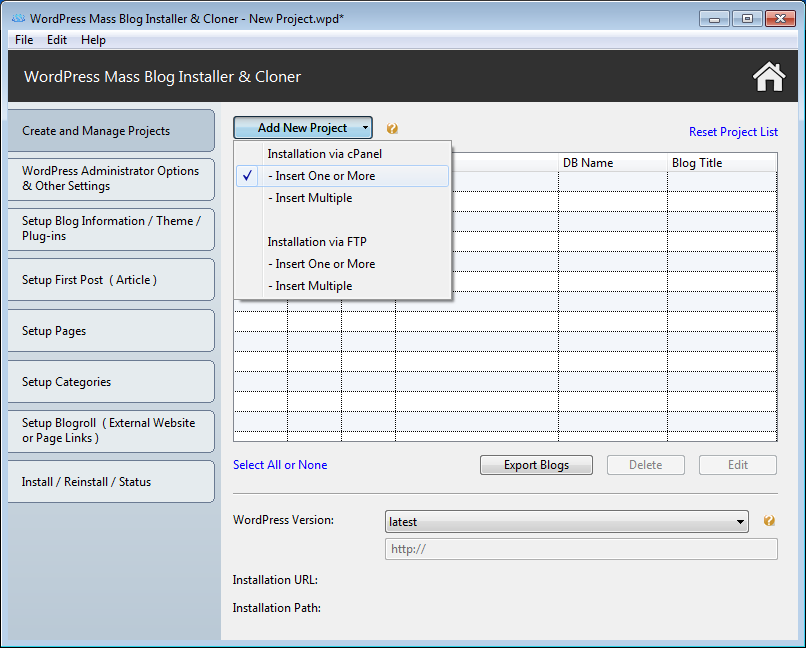
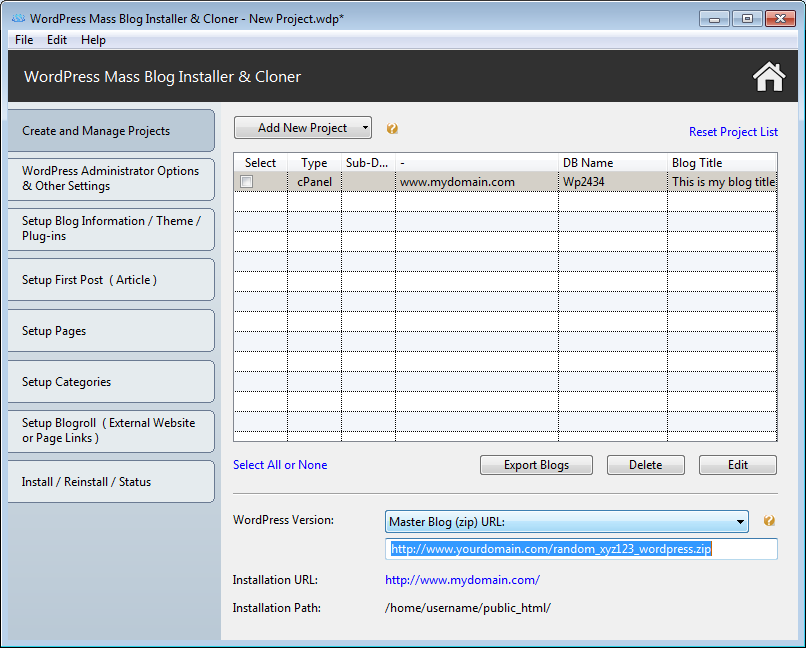
Run the software and click on WordPress Mass Blog Installer & Cloner Tool:
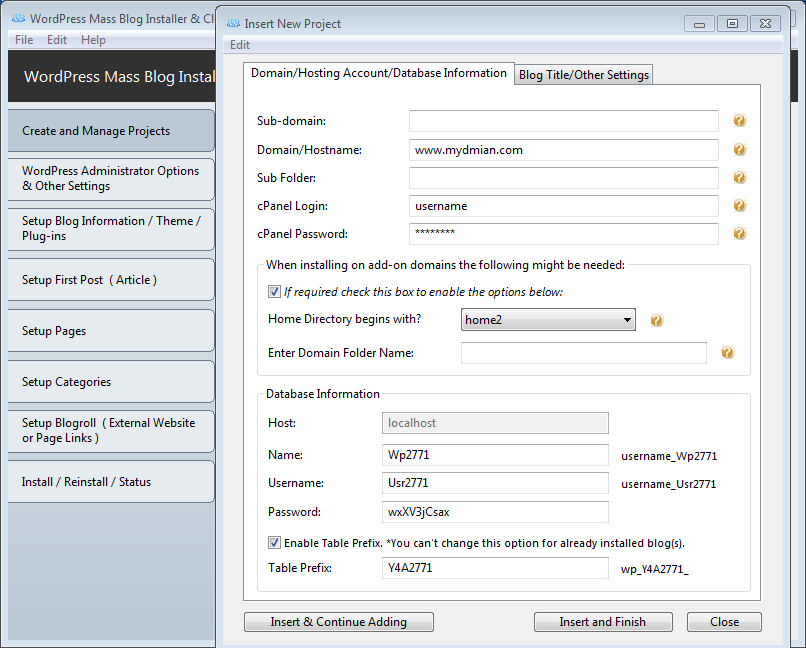
In this example we are going to install your blog in "mydomain.com" which is Primary Domain in cPanel, for add-on domain check the next section
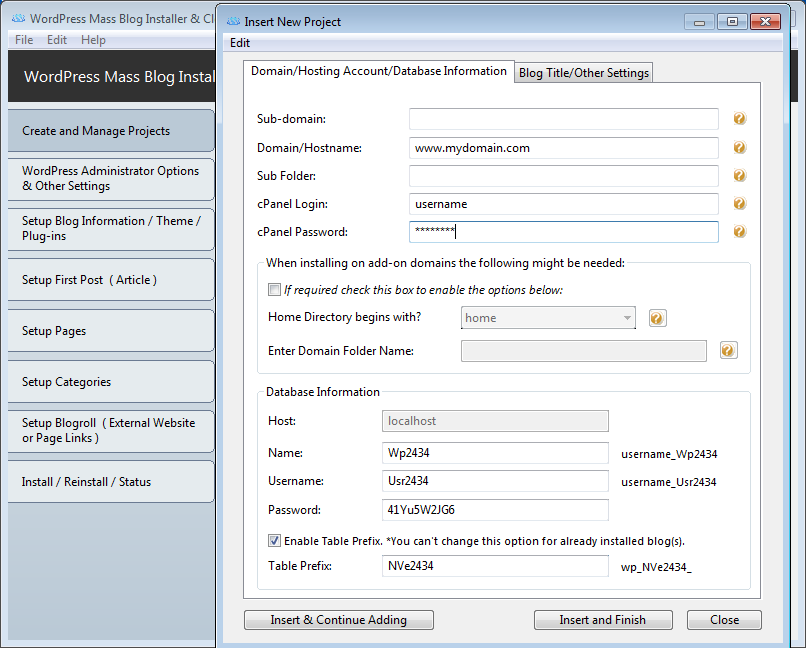
1. Enter your Domain/Hostname of your blog, this can be found in your cPanel account.
2. Enter your cPanel login and cPanel Password.
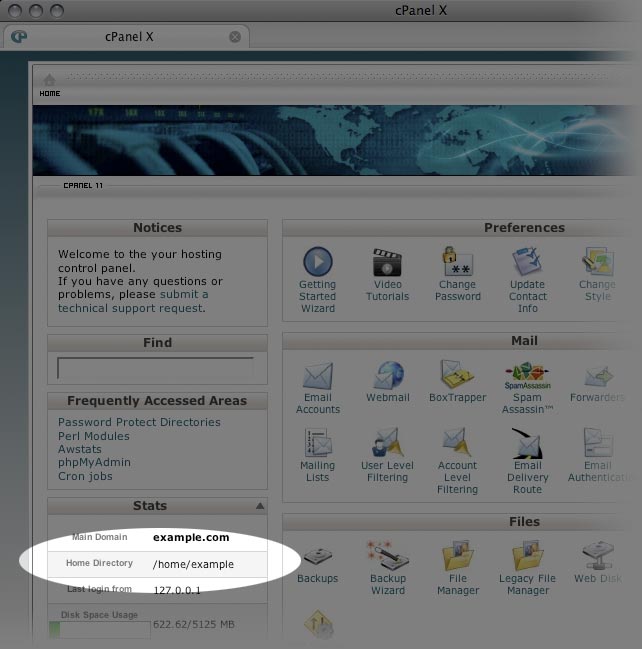
Skip the next section, if Home Directory is /home/username.
If Home Directory e.g. /Home2/username under the stats tab (left side) in cPanel:
* After login into cPanel, this is how you can find your Home Directory
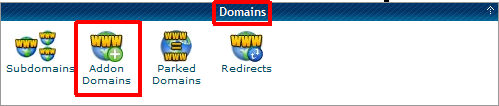
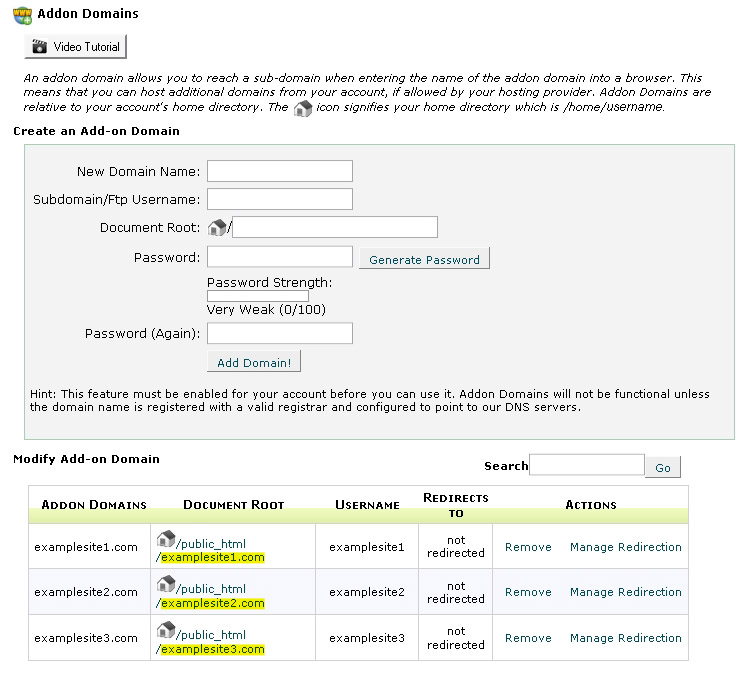
In this example we are going to install on "www.examplesite2.com" which is Add-On Domain in cPanel
* After login into cPanel, this is how you can find your Domain Folder Name for add-on domains:

* If Home Directory e.g. /Home3/username under the stats tab (left side) in cPanel:
* After login into cPanel, this is how you can find your Home Directory
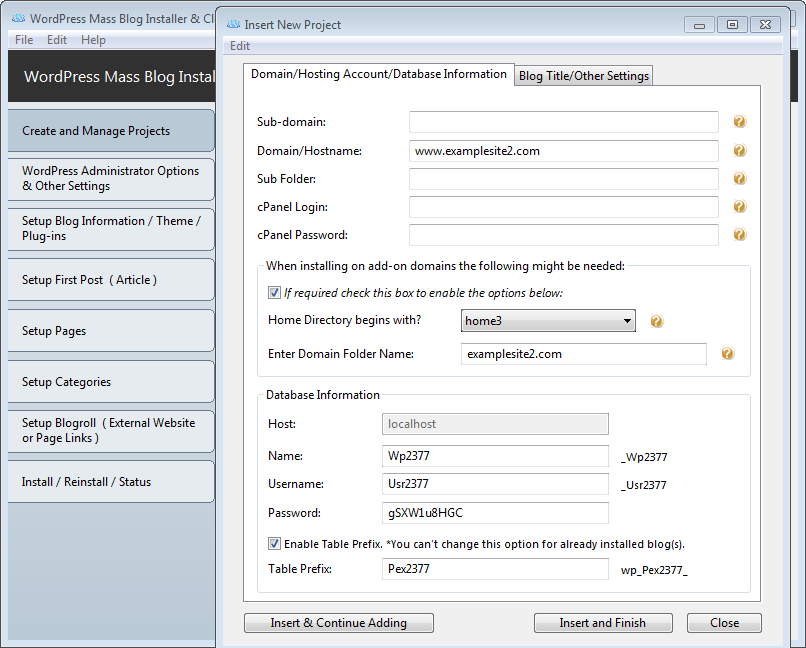
3. Enter the name of your blog/site.
4. If you intend to use only one database, then tick the box of "Single DB".
5. Click on "Insert and Finish" button.
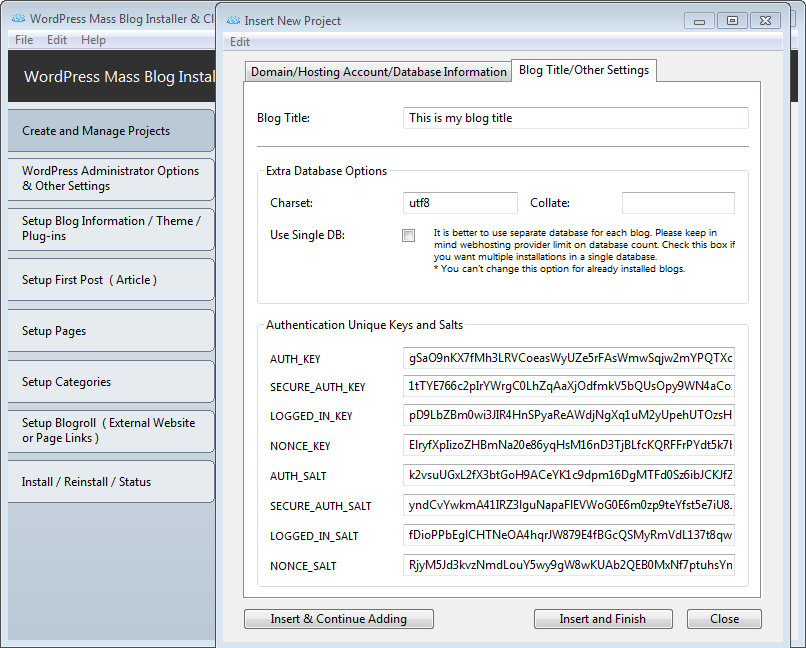
6. You can leave WordPress Versions option at the latest or if you want an earlier version, choose the correct option.
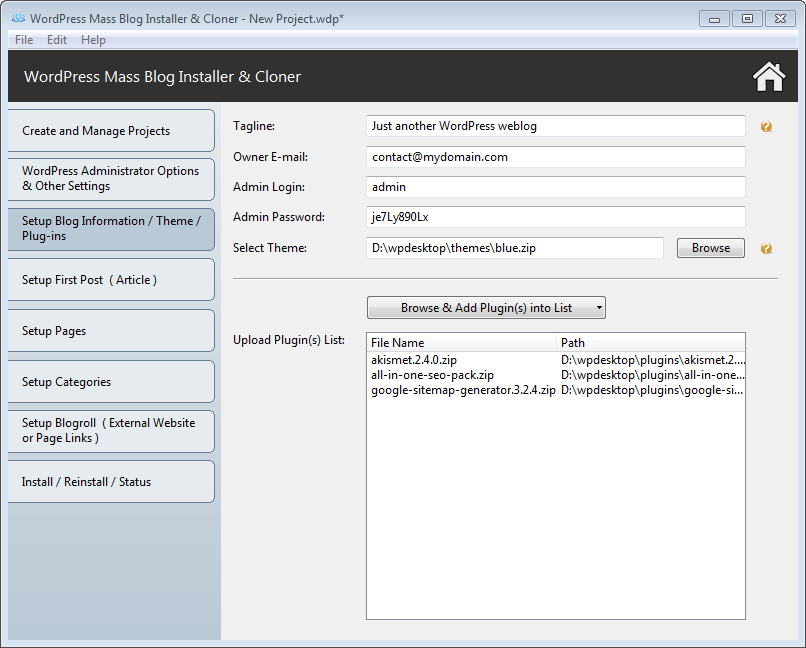
Now setup your blog information:
7. Enter a Tagline. In a few words, explain what your site is about. Your sites's slogan, or tagline, might be entered here. A tagline is short phrase, or sentence, used to convey the essence of the site and is often funny or eye-catching.
8. Enter the e-mail address to which you want WordPress to send messages regarding the administration and maintenance of your WordPress site. The e-mail address you enter here will never be displayed on the site.
9. Enter WordPress Administrator Login and Password. The admin account provides access to the WordPress Administration Panel. The Administration Panel provides access to the control features of your WordPress installation.
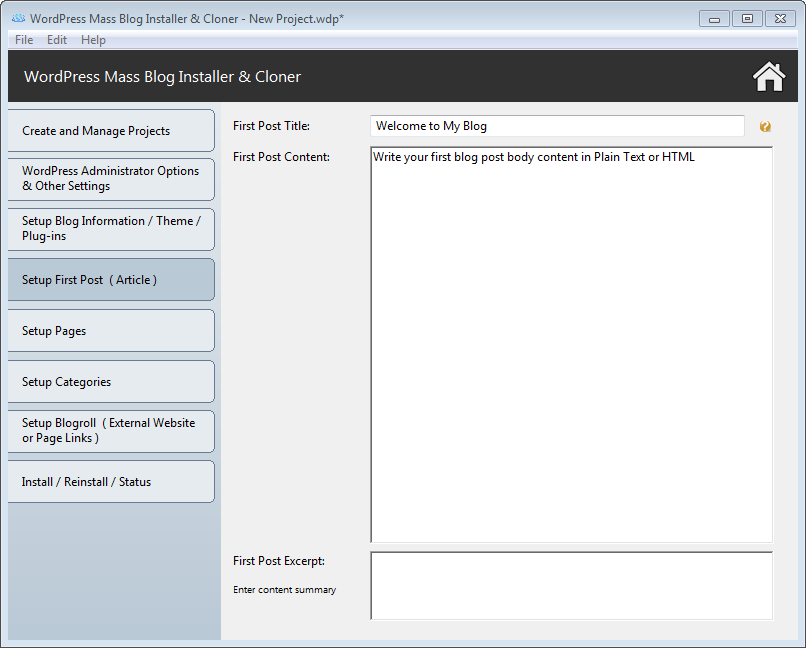
* (Optional) Setup Your Blog First Post/Article and Page
Enter the "First Article/Post Title"
Enter your "First Article/Post Body Content"
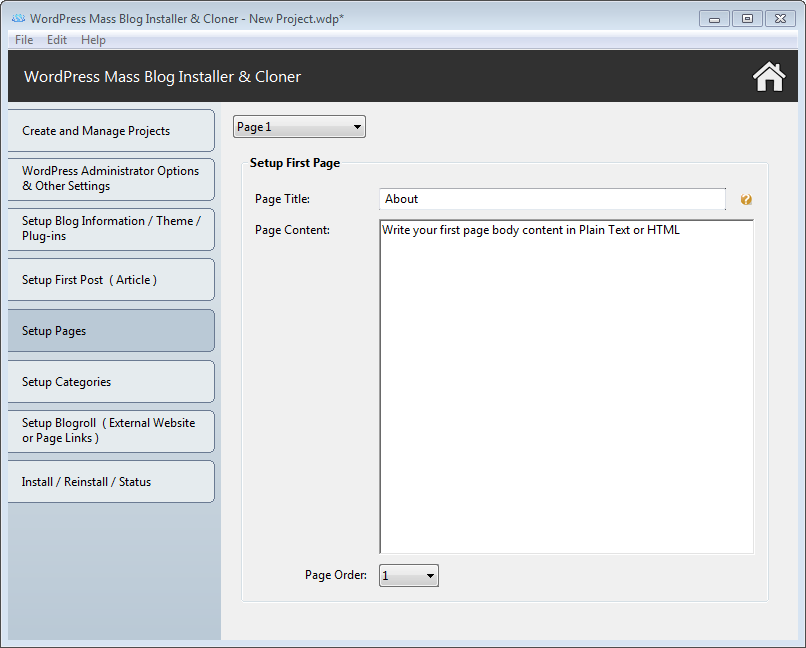
* (Optional) Setup Your Blog First Page
Enter the "First Page Title"
Enter the "First Page Body Content"
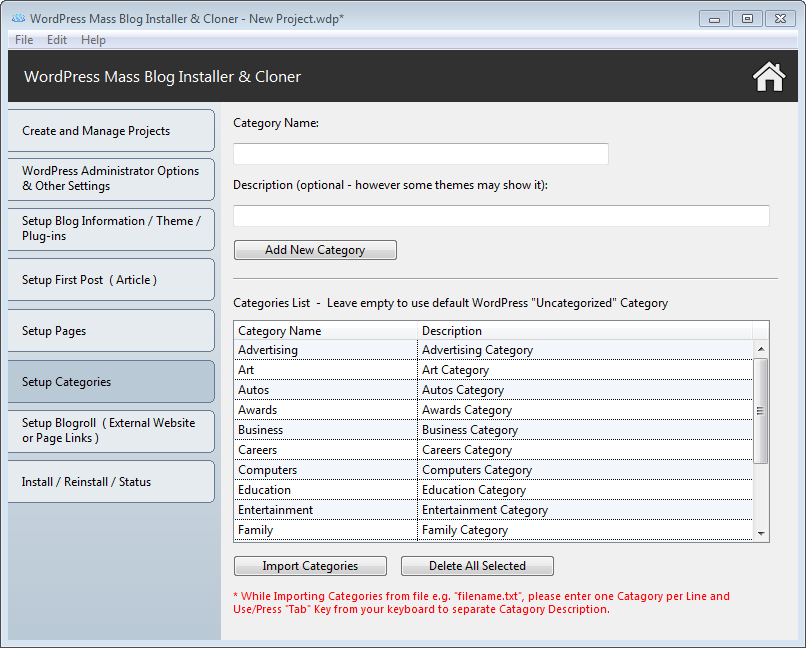
* (Optional) Setup Your Blog Categories
Enter name and description for your categories and click on "Add New Category"
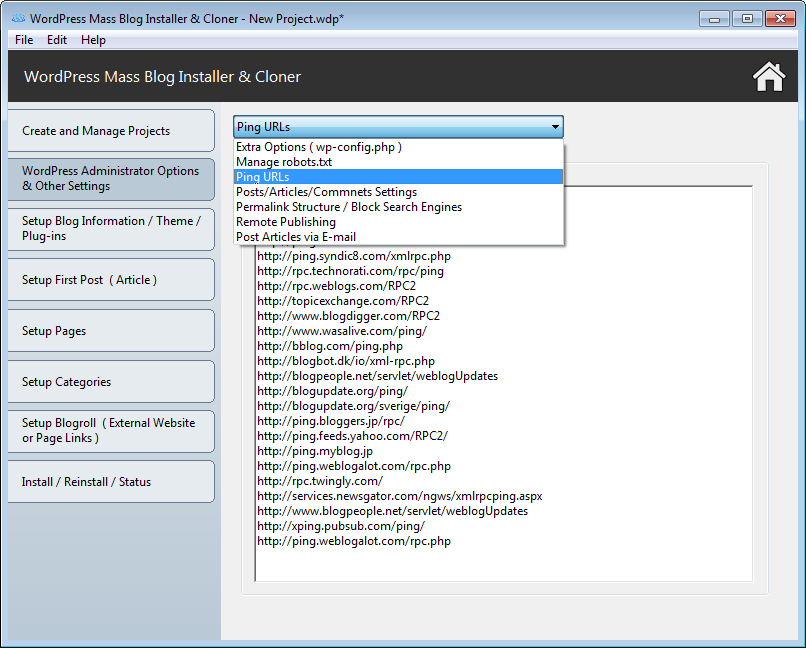
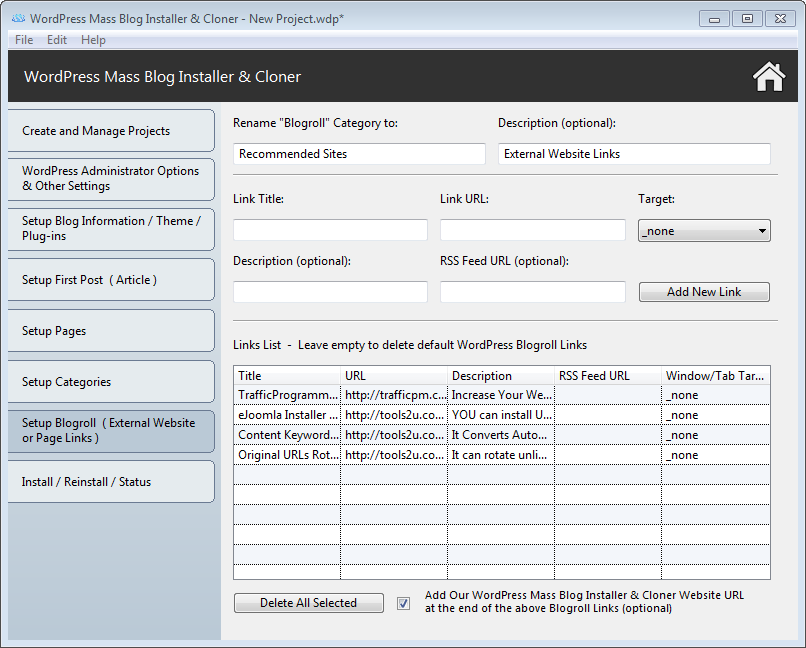
* (Optional) Setup Your Blog External Links - WordPress allows you to store a set of external links, also known as "blogroll". These links can be added into category.
> You can rename Default WordPress Links Category to any name using this field "Rename Blogroll"
>> Enter the URL Title and the Link of URL and click on "Add New Link"
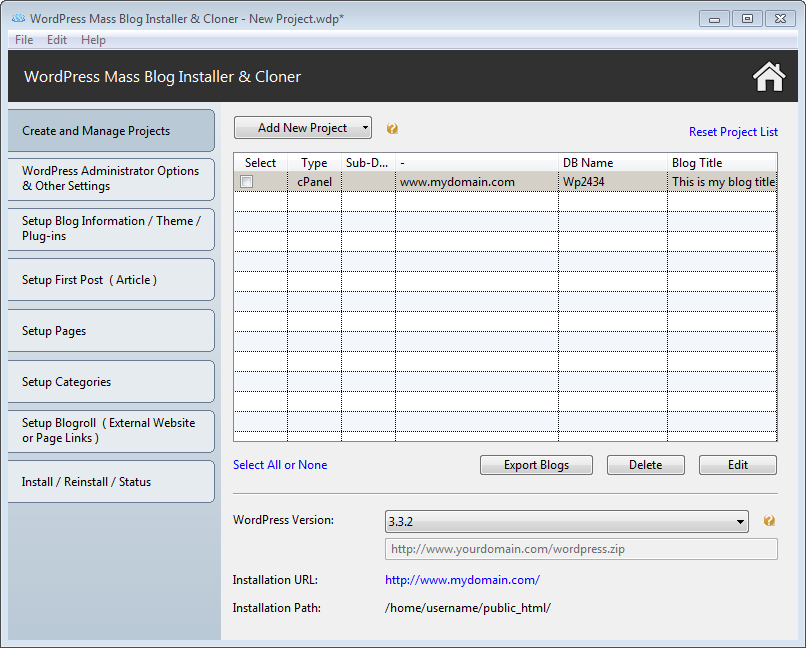
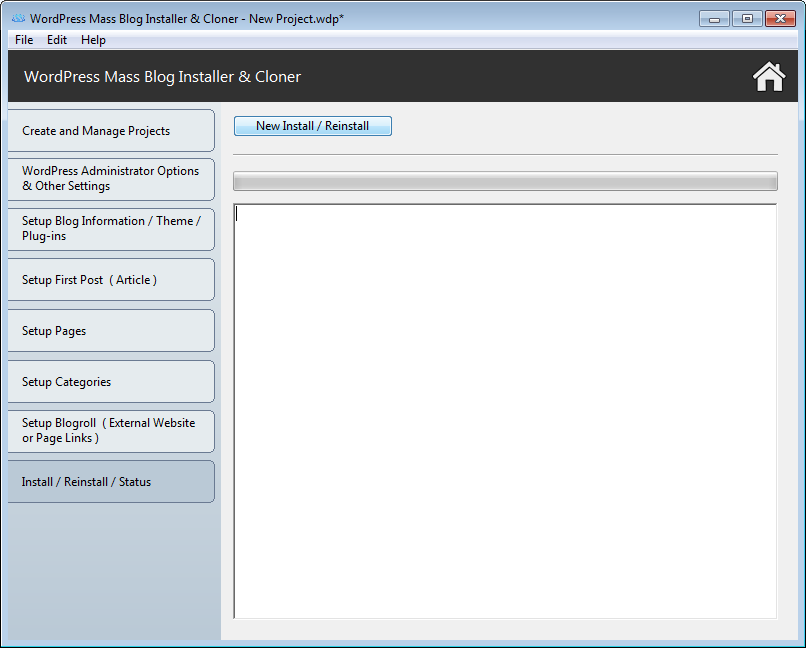
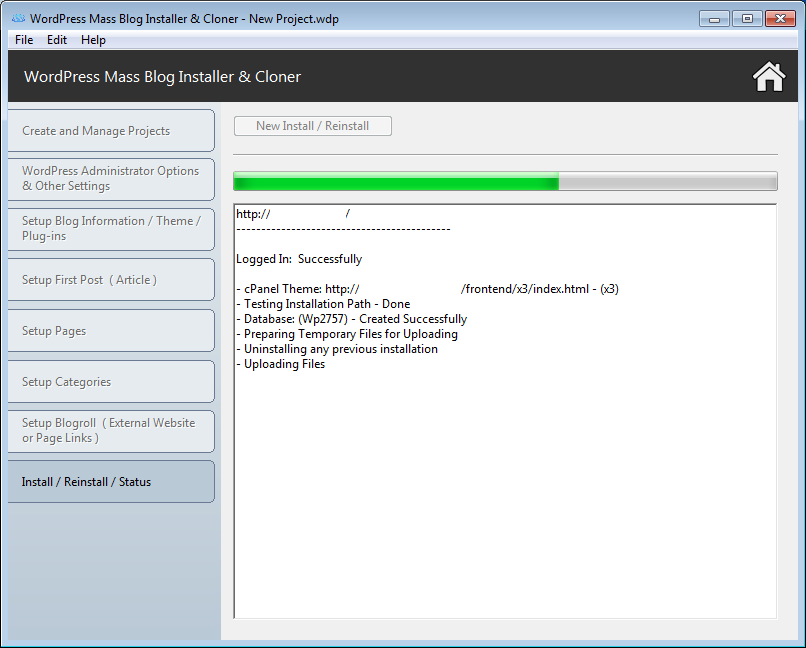
10. Click on the "Install/Reinstall/Status" tab and then click on the "New Install/Reinstall" button.
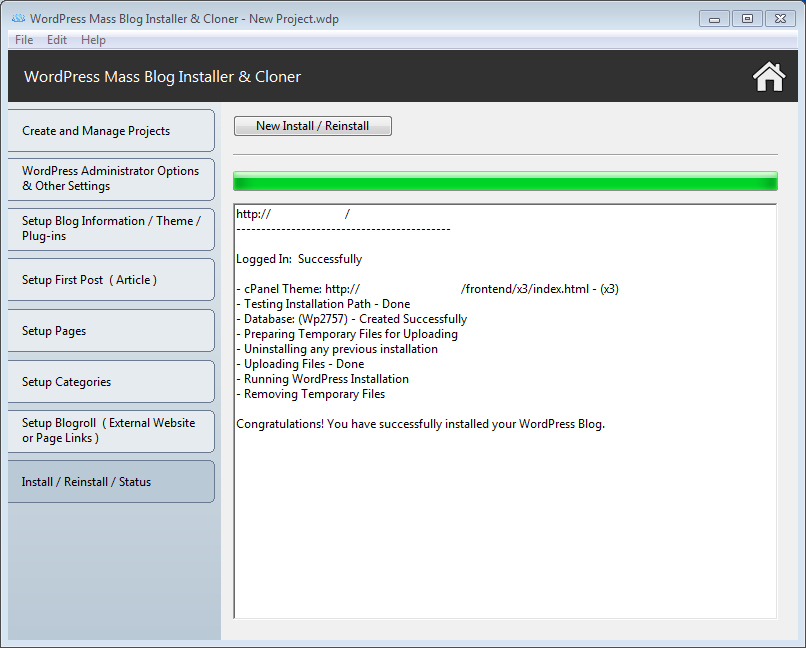
Watch while our Software is Processing the Installation..
When the installation is finished, our software will congratulate you for your Wordpress Blog Installation!
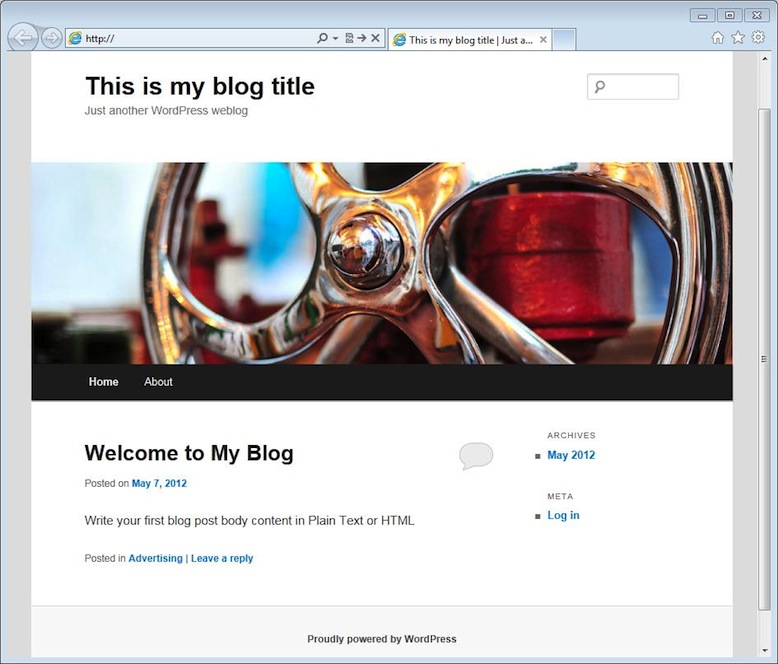
That's all it needs for Standard Wordpress Blog Installation.
First Look after Standard WordPress Blog Installation..
» WordPress Mass Blog Installer & Cloner - How to Build and Use Custom WordPress (ZIP File) with your own customized files etc. ⇑
1. Download latest WordPress Version (zip) from: http://wordpress.org/latest.zip
2. After Unzip/Extract, add/replace your files, plug-ins and themes etc. inside the "wordpress" folder
3. Re-zip/Re-compress the wordpress folder to create your new Custom Build ZIP file (only zip format is supported)
4. Upload your newly Custom Build ZIP file "wordpress.zip" to your server (Please upload to a different domain or sub-folder then installation folder)
5. Enter the complete URL e.g. http://www.yourdomain.com/wordpress.zip to your Custom Build ZIP file in the box starting with http://
» WordPress Mass Blog Installer & Cloner - How To Clone / Duplicate / Migrate Your Pre-Installed and Fully Configured WordPress Blog to a New Domain(s)/Sub-Domain/Sub-Folder etc. ⇑
Automatic
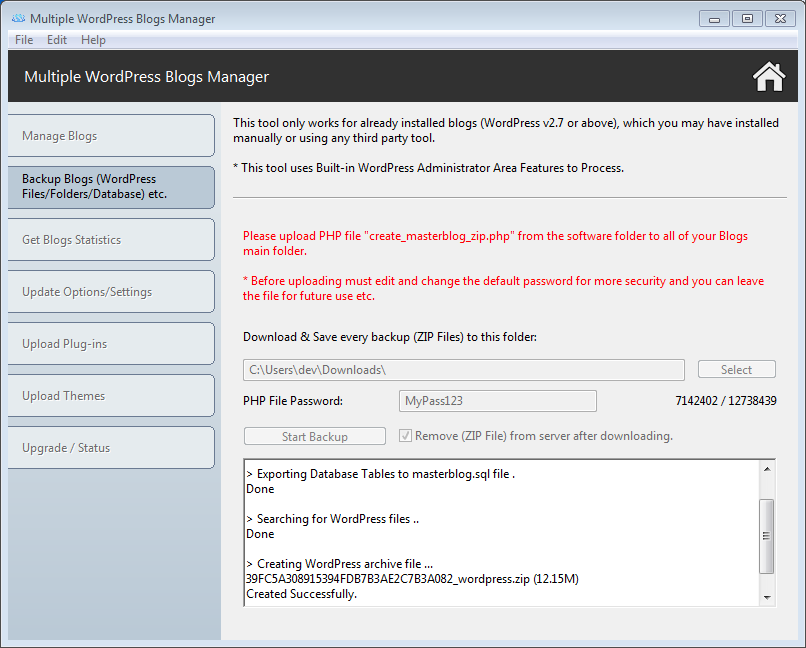
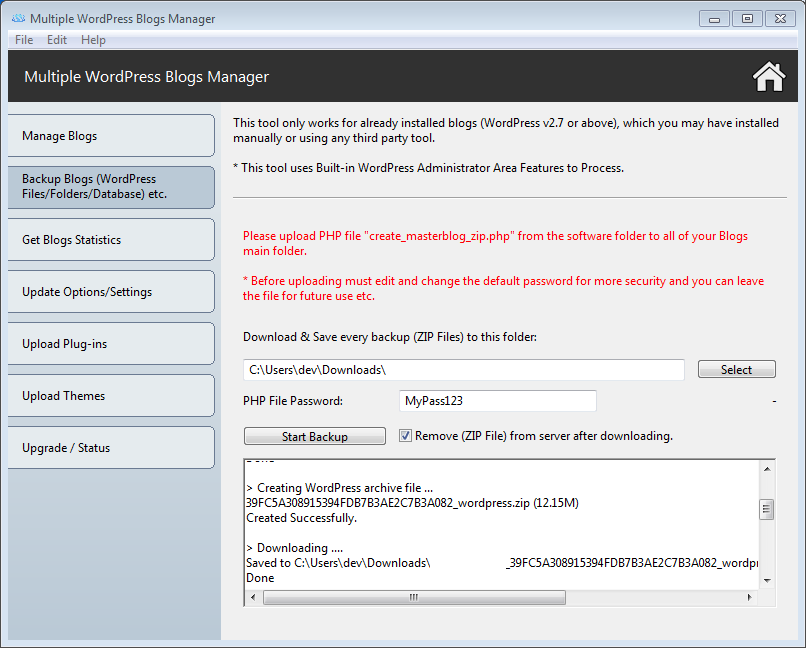
1. Upload "create_masterblog_zip.php" file from the software folder to your Master Blog folder using FTP Client.
Please Note: Before uploading "create_masterblog_zip.php" change the default password which is "MyPass123" and you can leave this file on the server for regular backups etc.
2. Browse URL to "http://myblog.com/create_masterblog_zip.php" file from your PC Browser, once it's finished.
3. Simply copy/paste or enter the complete URL to the Master Blog (zip) file in the box starting with http://
Manual
1. Create a new folder "wordpress" on your computer
2. Download all the files and folders of your Master Blog using an FTP Client into a newly created wordpress folder
3. Export Master Blog Database on your computer using phpMyAdmin (only SQL format is supported)
4. Rename newly downloaded database SQL filename to "masterblog.sql"
5. Copy new masterblog.sql into wordpress folder
6. Zip/Compress this wordpress folder to create your new Master Blog ZIP file (only zip format is supported)
7. Upload your newly Master Blog ZIP file "wordpress.zip" to your server (Please upload to a different domain or sub-folder then installation folder)
8. Enter the complete URL e.g. http://www.yourdomain.com/wordpress.zip to your Master Blog (zip) file in the box starting with http://
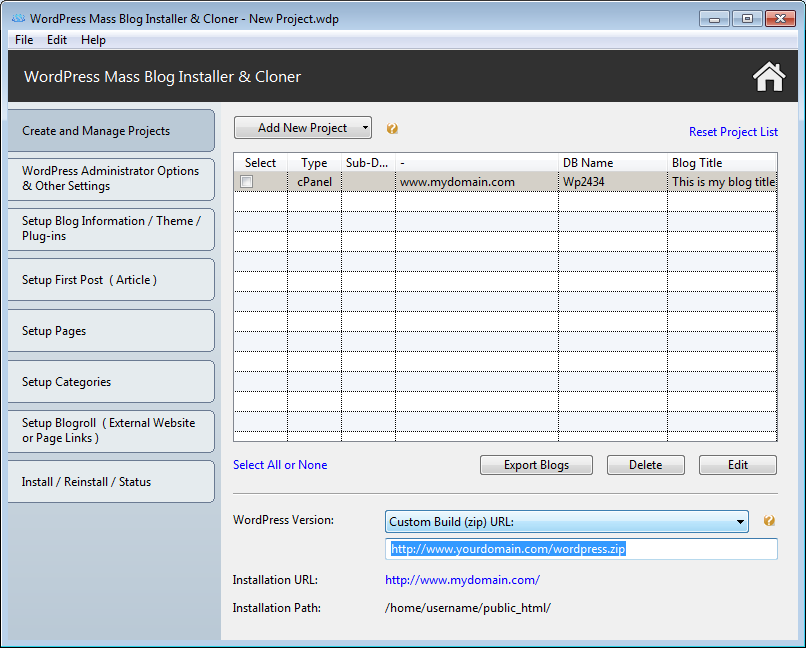
» WordPress Mass Blog Installer & Cloner - (How to Install Multiple WordPress Blogs) ⇑
Run the software and click on WordPress Blog Installer Tool:

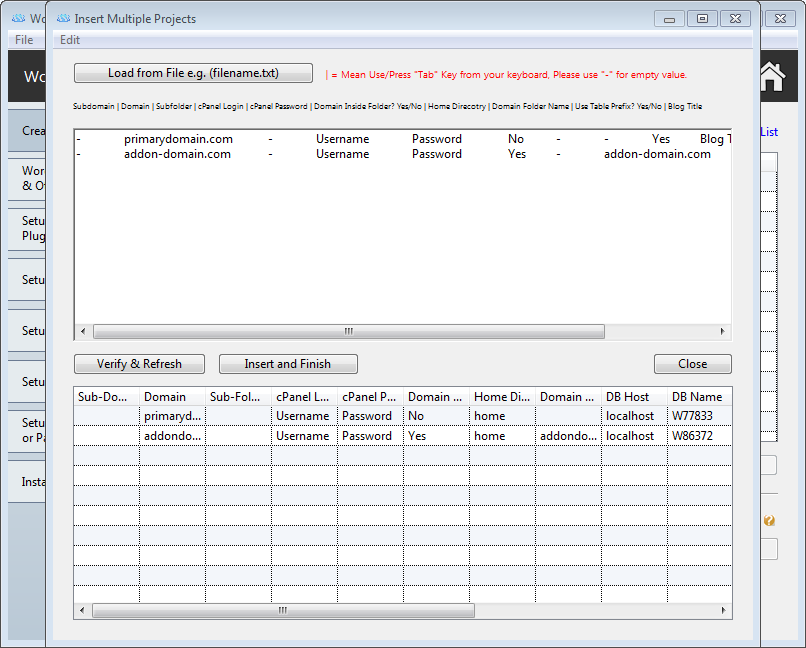
Once you are done for entering the data, click on "Verify & Refresh" button and check columns/rows data is fine then click "Insert and Finish" button.
5. Multiple WordPress Blogs Manager - ⇑
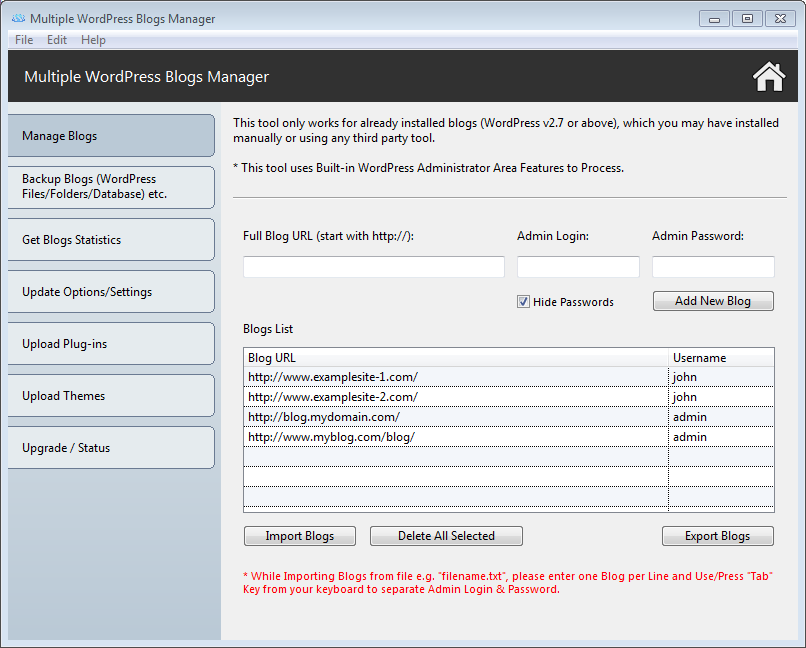
Backup all of your Blogs (Files/Folders/Database etc.) and Automatic Download of every Blog (Backup ZIP File) to your Computer. ⇑
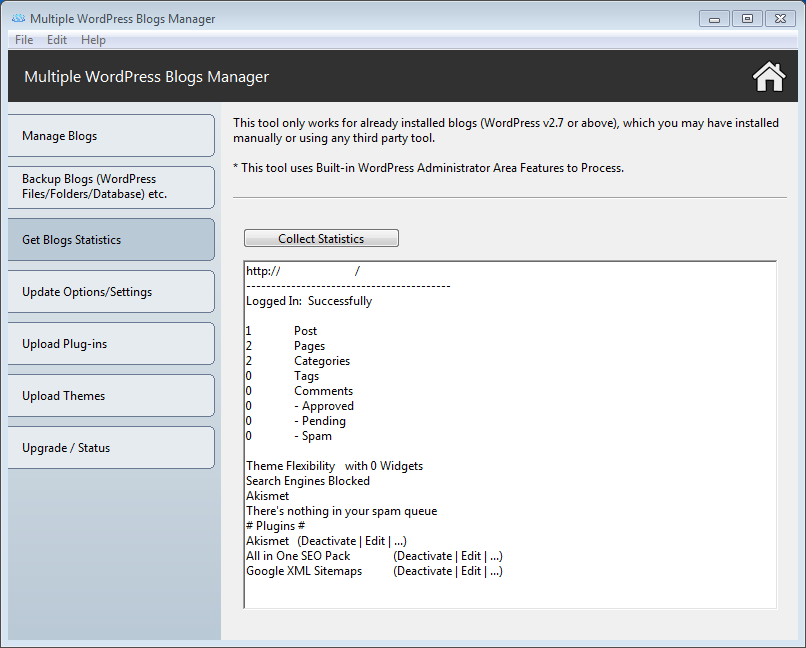
Check all Blogs Latest Statistics which includes Posts, Pages, Categories, Tags, Comments, Plugins and Current Theme etc. ⇑
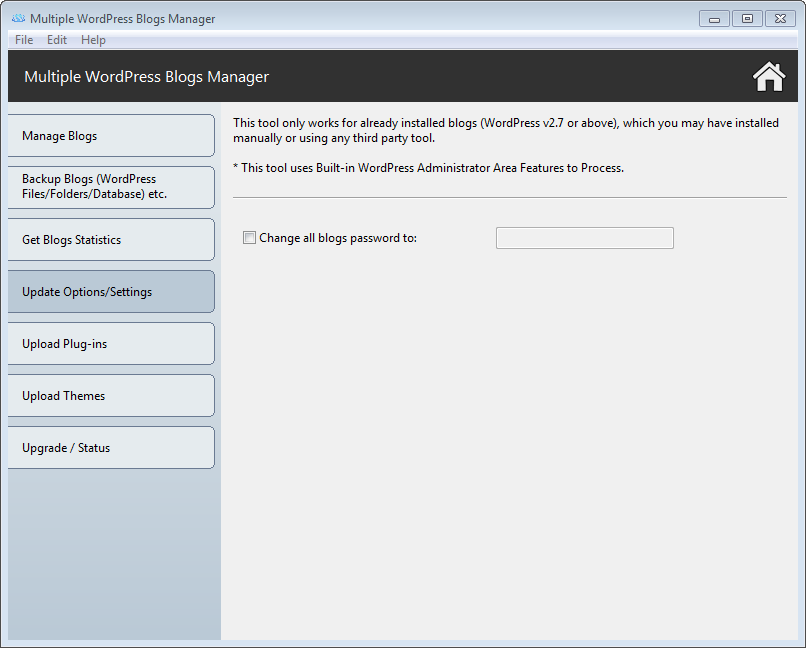
Change all Blogs Password to New Password. ⇑
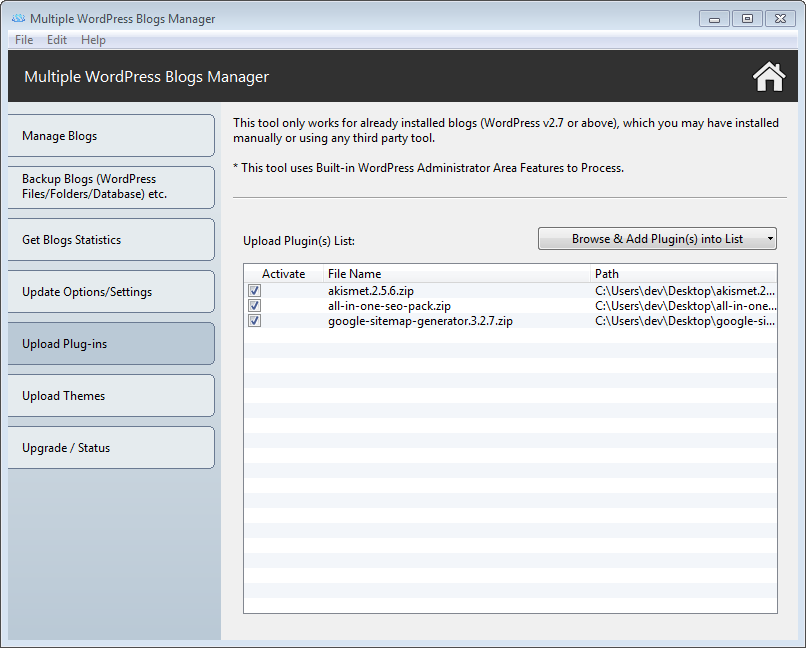
Upload Unlimited Plugins in ZIP Format from your computer. ⇑
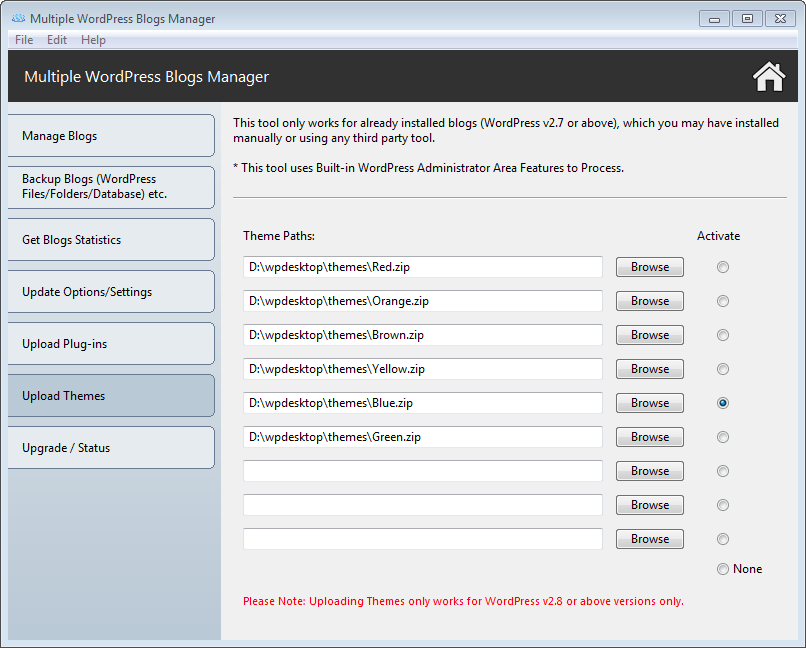
Upload 9 Themes in ZIP Format from your computer. ⇑
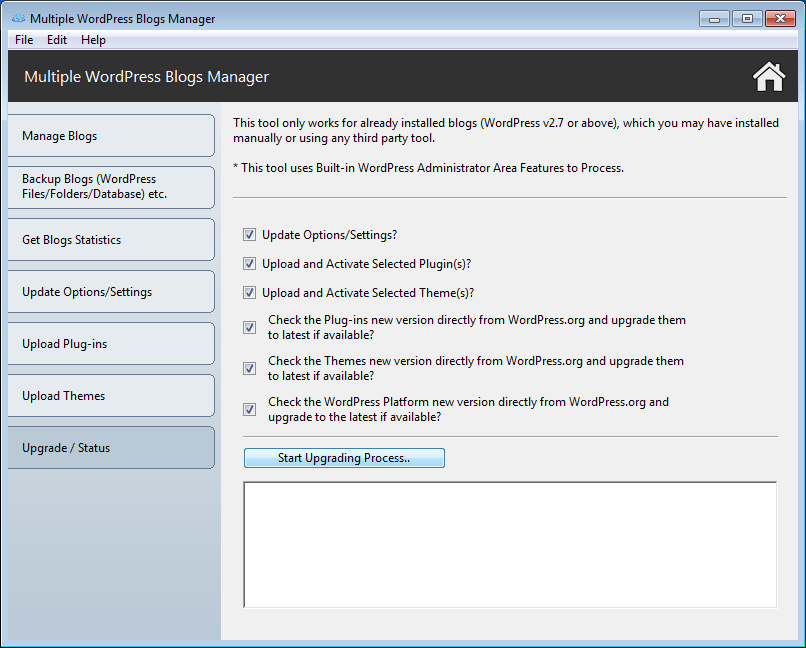
Update all your WordPress Blogs, Plugins and Themes to the latest version directly from WordPress.ORG ⇑
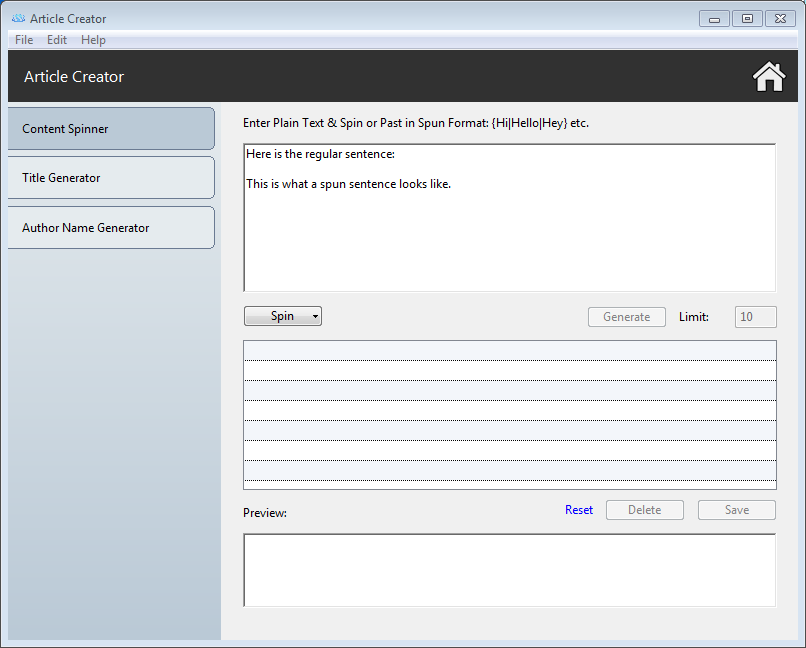
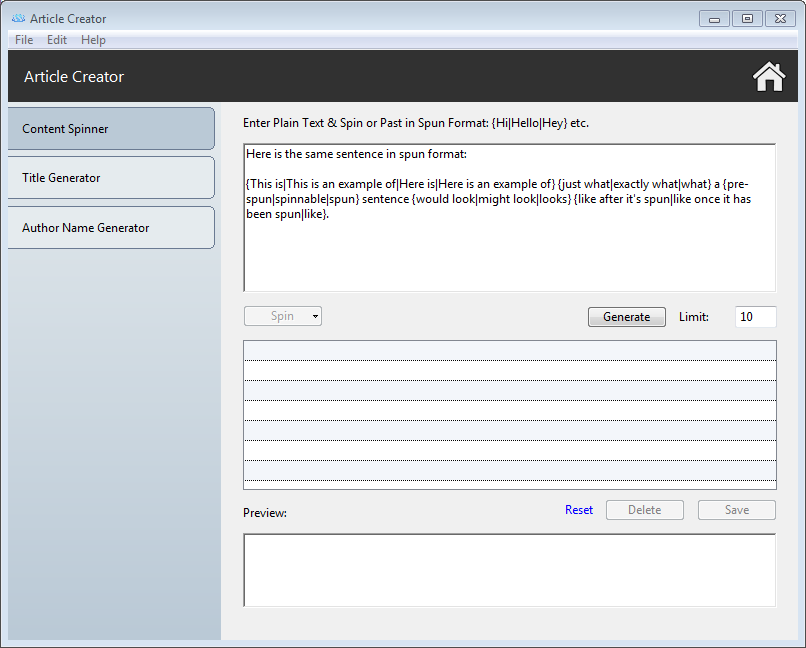
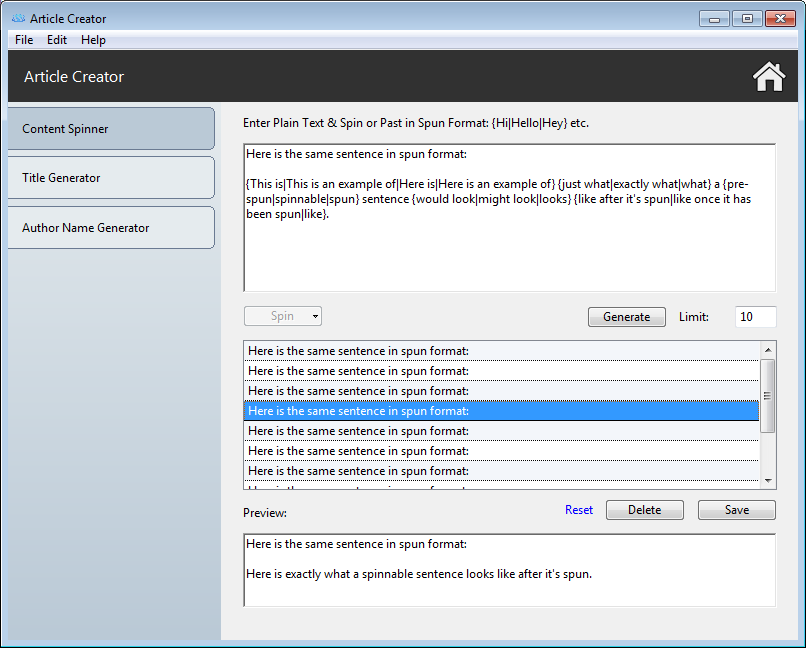
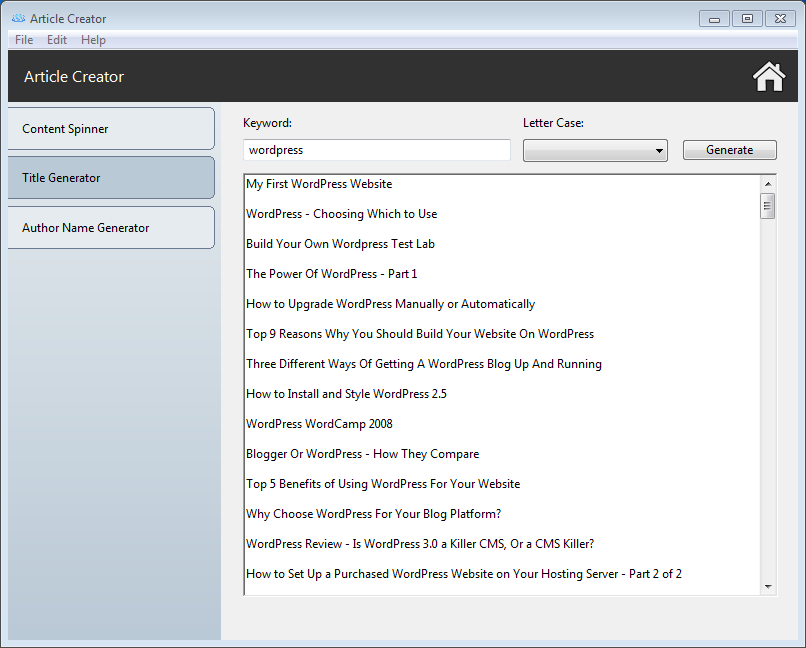
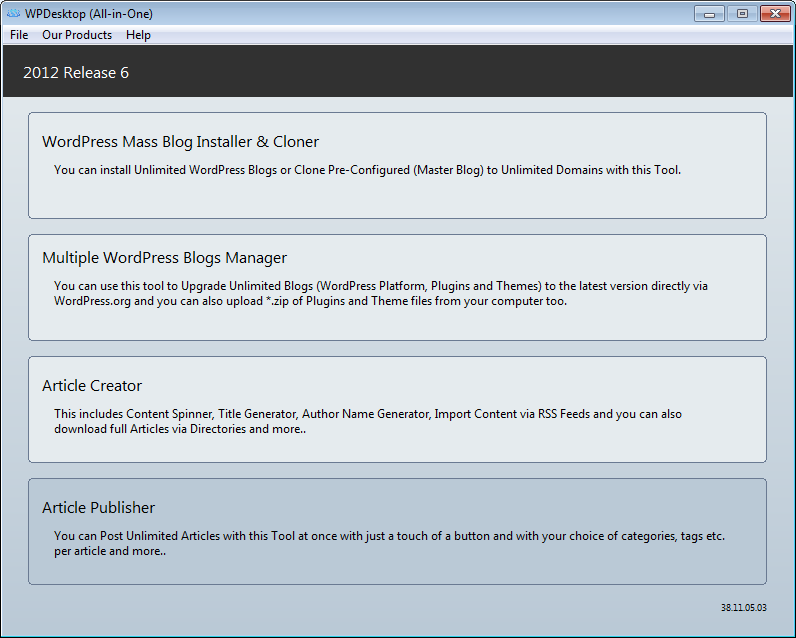
6. Article Creator - ⇑
Content Spinner / Article / Content Generator ⇑
Article Title Generator ⇑
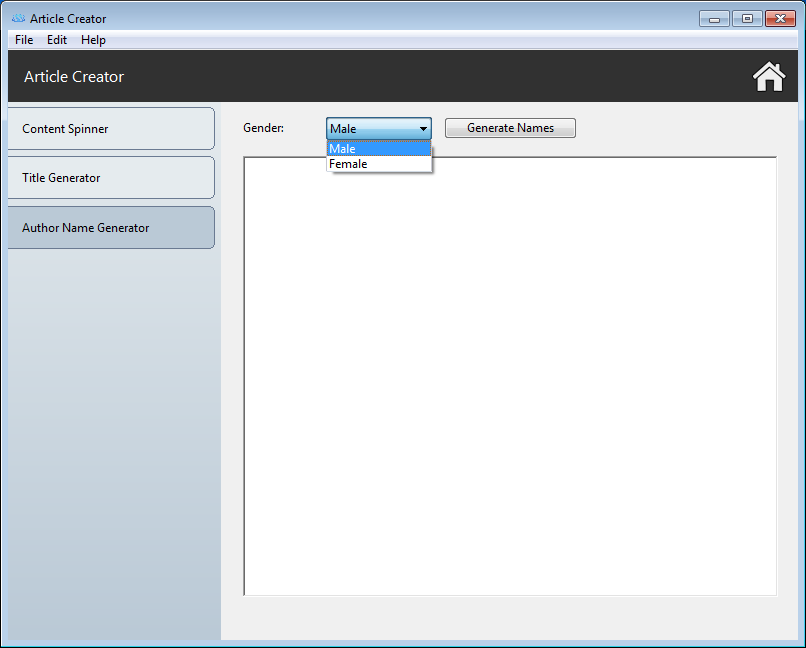
Author Name Generator ⇑
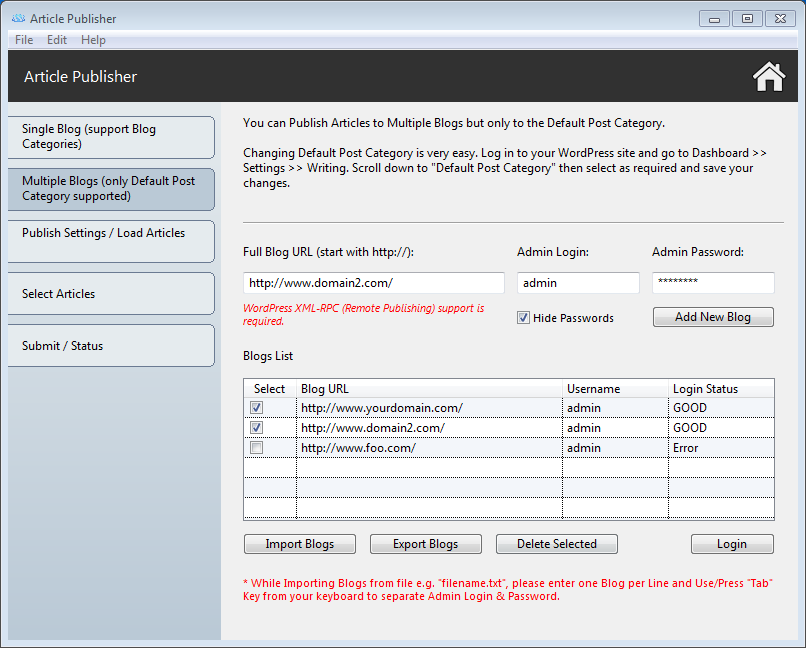
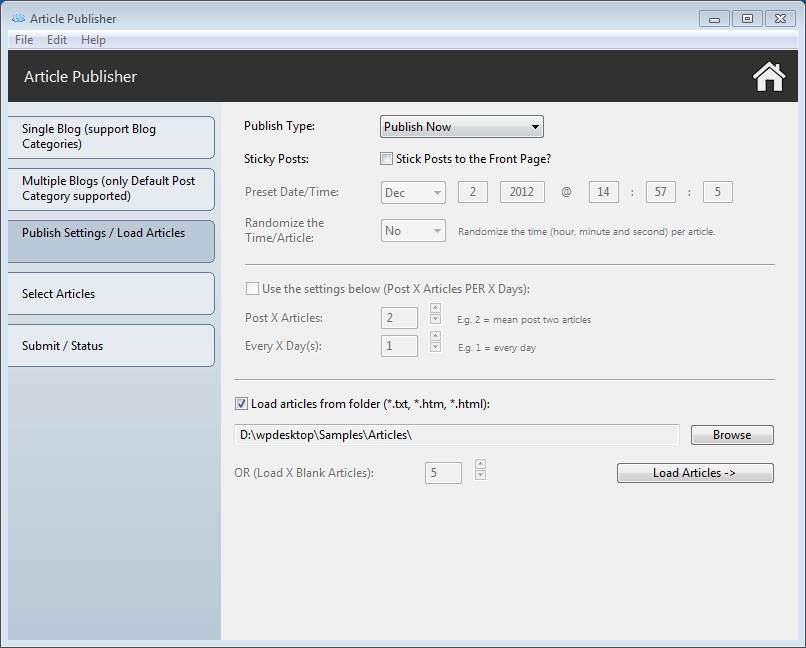
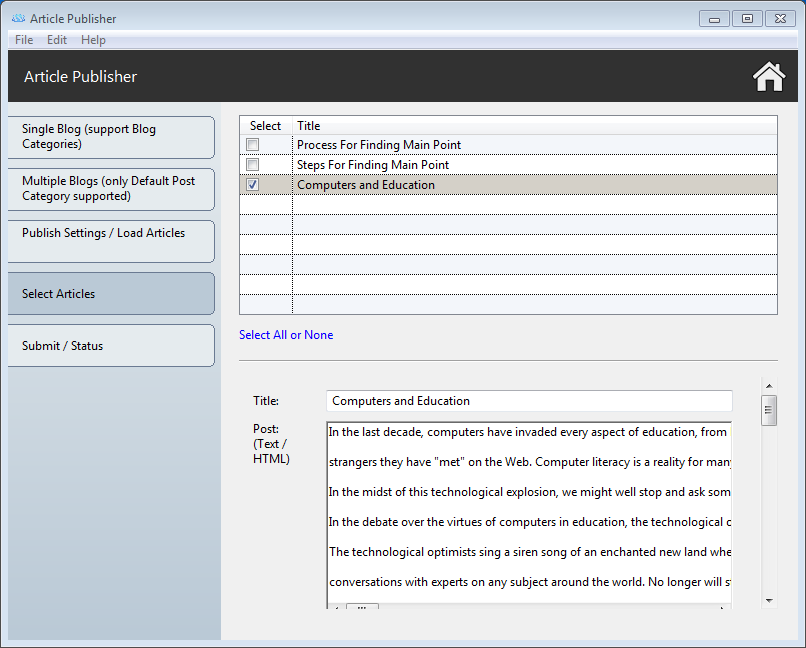
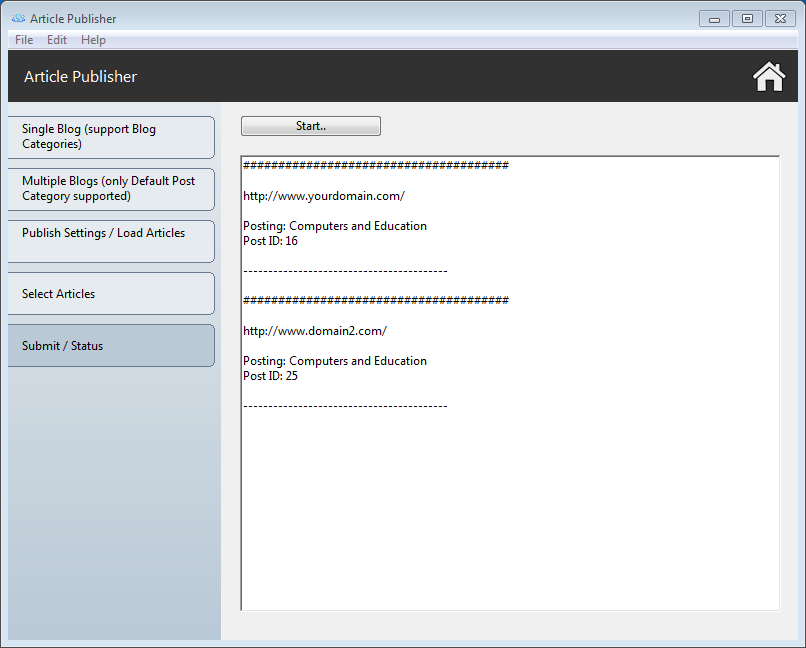
7. Article Publisher - ⇑
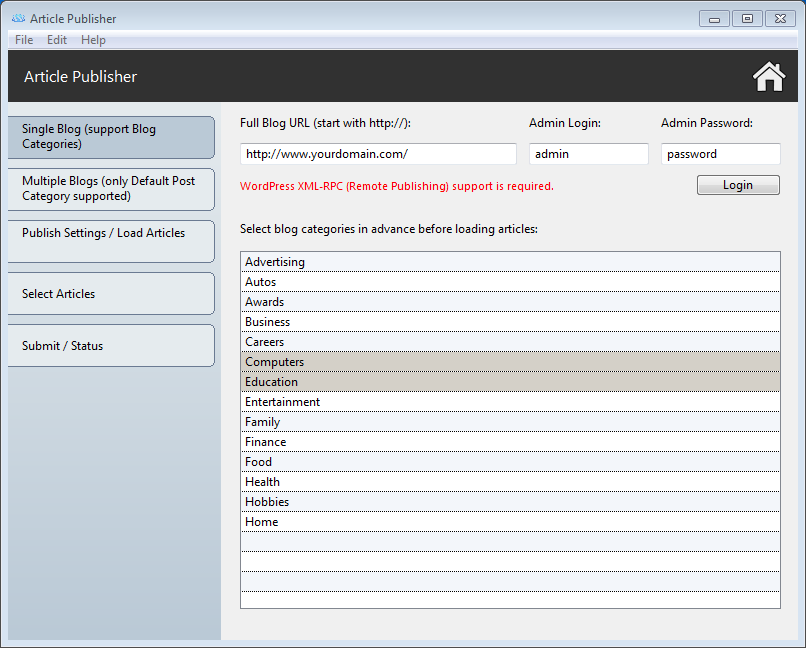
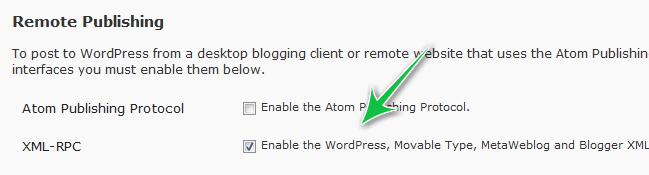
» Article Publisher - How to Enable XML-RPC Access to Your WordPress Site. ⇑
Enabling XML-RPC is very easy. Log in to your WordPress site and go to Dashboard >> Settings >> Writing. Scroll down to Remote Publishing, then check XML-RPC and save your changes. Now your blog is open to receiving posts using our tool.